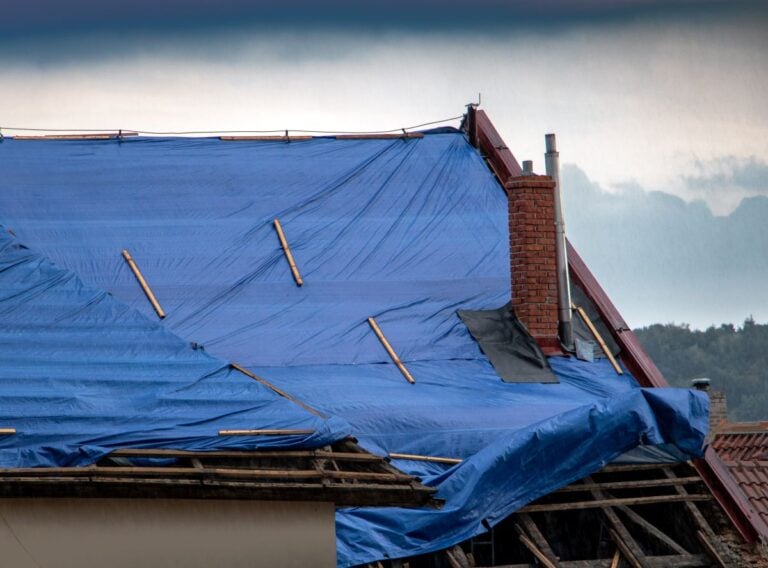
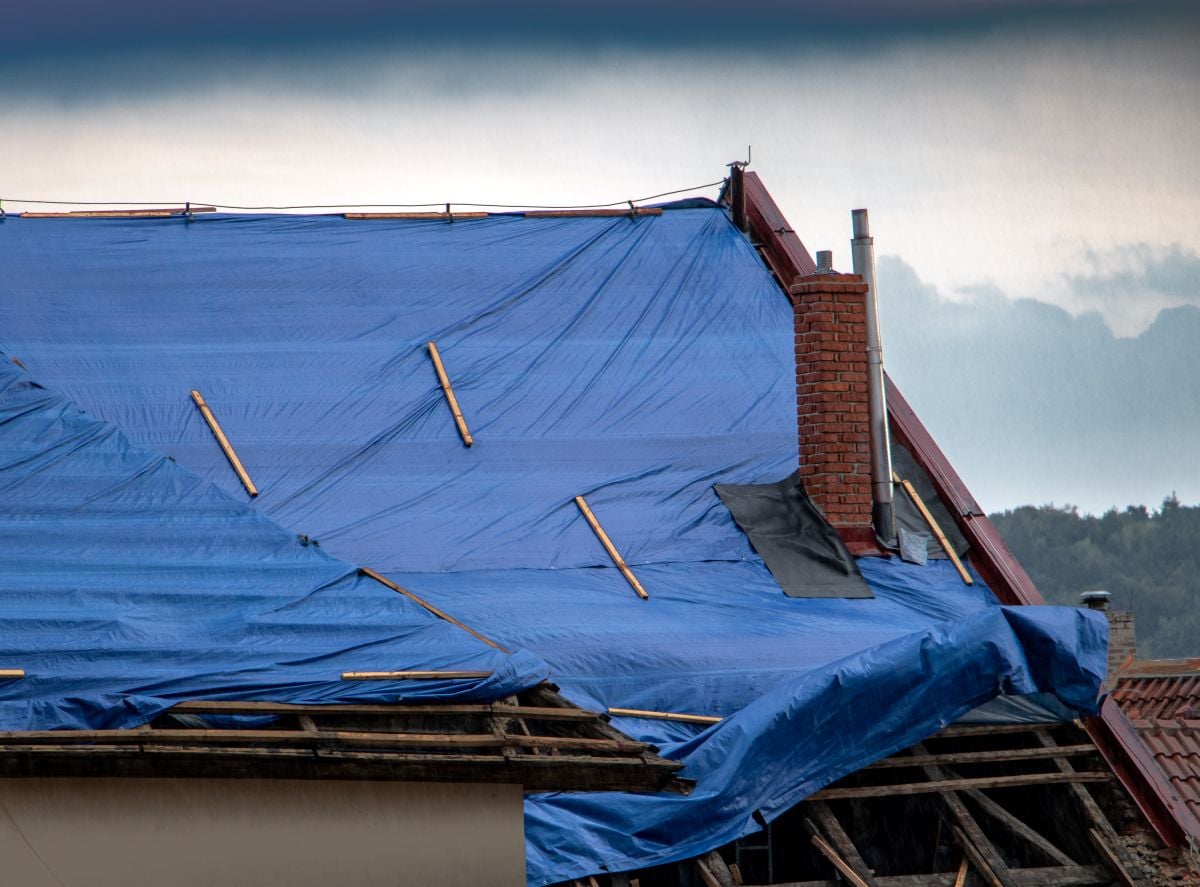
When a storm rips off shingles or punches a hole through your roof, knowing how to tarp a roof correctly can prevent a bad situation from turning into a much bigger one. A properly installed tarp buys you time to arrange a permanent repair without letting rain or debris cause further damage inside your home. Homeowners in Downers Grove and surrounding areas often deal with sudden severe weather that leaves roofs exposed overnight. Before climbing up, it helps to first understand how professionals assess and stabilize damage after severe weather so you know when a temporary fix is appropriate.
Key takeaways:
- Why tarping a damaged roof quickly matters after a storm
- The step by step process for tarping a roof safely
- What safety precautions to take before climbing onto your roof
- When a temporary tarp is enough and when to call a professional

Why a Quick, Safe Tarp Job Matters
A roof left exposed after a storm does not just risk more rain getting in, it also invites secondary damage that can turn a simple repair into a major renovation. Every hour a hole or missing section goes uncovered gives water, wind, and debris more opportunity to reach your attic, insulation, and interior walls.
- Water damage prevention: A tarp stops rain from soaking insulation, drywall, and framing while you wait for repairs.
- Mold prevention: Keeping moisture out reduces the risk of mold developing in your attic or walls.
- Insurance documentation: Acting quickly and documenting the damage can support a smoother insurance claims process.
- Cost control: Preventing additional damage now often means a smaller repair bill later.
For homeowners in Downers Grove and surrounding areas, a fast response after a storm can be the difference between a straightforward repair and a much larger, more expensive project. Taking the right precautions before climbing onto the roof is just as important as the tarping process itself, since a rushed or careless approach can create new problems on top of the storm damage you are trying to fix.
7 Steps to Tarp a Roof After Storm Damage
Tarping a roof safely requires more than just throwing a sheet of plastic over the damage, and skipping steps can put you at real risk or leave the tarp ineffective against the next storm. Here are seven steps to follow when tarping a roof after storm damage.
1. Check Conditions and Wait for It to Be Safe
Never attempt to tarp a roof during active rain, high winds, or lightning. Wait until conditions are calm and daylight is available before climbing onto a wet or damaged roof, since visibility and footing both matter more than they might seem in the moment.
2. Gather the Right Materials
You will need a durable tarp at least 6-mil thick and sized larger than the damaged area, wood boards or furring strips, roofing nails or screws, a tape measure, a utility knife, and a sturdy ladder tall enough to safely reach the roofline. Having all the necessary materials ready on the ground before you start climbing helps you avoid unnecessary trips up and down.
- Choose a tarp rated for outdoor use and UV exposure
- Bring more rope, bungee cords, or straps than you think you will need
- Wear appropriate safety gear, including non-slip shoes and gloves, before you begin
3. Inspect the Roof From the Ground First
Before climbing up, walk around your home and carefully inspect the roof from the ground to identify the full extent of the damage, taking clear pictures of any broken shingles, missing shingles, or visible holes to support your insurance claim later. This helps you plan where the tarp needs to go and avoid stepping near any additional weak spots you might not see once you are on the roof, and it also gives you a sense of how large a tarp you will actually need.
4. Clear Debris From the Damaged Area
Remove broken branches, loose shingles, and other debris from the area before placing the tarp. A clean surface helps the tarp lie flat and reduces the risk of punctures from sharp debris underneath, which can quickly undo an otherwise well placed tarp.

5. Position the Tarp Over the Damage
Unroll the tarp so it extends well past the damaged area on all sides, ideally reaching over the roof peak if the damage is near the top edge. This overlap helps direct water away from the hole rather than funneling it toward the edges, where it could otherwise cause water pooling or seep underneath.
6. Secure the Tarp Edges Tightly
Wrap the tarp edge around a 2×4 and anchor it to the roof rather than nailing directly through the tarp itself, which helps prevent wind damage and tearing. Secure every edge firmly, since a loose corner can catch strong winds and undo the entire job in a single gust.
- Avoid nailing directly through the tarp material
- Add sandbags weighing 20 to 30 pounds each along the base for extra stability
- Bungee cords can provide a flexible hold at corners where boards are harder to place
- Check that the tarp is pulled tight enough to prevent water pooling
7. Check the Tarp After the Next Rain
Once the tarp is in place, check it again after the next rainstorm to confirm no water is leaking through and that all edges remain secure. A quick follow up inspection can catch a loose corner before it becomes a bigger problem, and it also gives you a clearer sense of how well the temporary fix is holding up.
Tarping a roof is meant to be a temporary solution, not a permanent fix, and it should always be followed by a professional inspection and repair as soon as possible. Taking these steps carefully can protect your home in the meantime without putting your own safety at risk, and it can also make the eventual repair process smoother by limiting how much additional damage occurs while you wait.
Staying Safe While Tarping a Roof
Tarping a roof is one of those tasks that carries real risk, even for homeowners who are generally comfortable with basic home maintenance. Falls from roofs are common after storms, since wet or damaged surfaces are far less stable than a roof in normal condition, and many homeowners in Downers Grove and surrounding areas attempt this themselves in the hours right after severe weather passes.
Safety Precautions to Take
- Wear rubber soled, non-slip shoes and gloves, never work in wet or icy conditions
- Use a sturdy ladder secured at the base, and avoid working alone if at all possible
- Wear a safety harness anchored to a secure point whenever possible, especially on steep roofs
- Avoid walking directly on any section of roof that shows visible sagging or structural damage
Alternative Methods for Securing a Tarp
Wood boards and nails are the most common approach, but a few alternative methods can also help hold a tarp securely in place. Tarp clips grip the tarp fabric tightly without puncturing the roof, which can be a useful option when you want to avoid adding extra holes to an already damaged surface. Self-adhesive tarps stick directly to shingles without any tools at all, while tension rods create enough pressure to hold a tarp in place without damaging the roof underneath. Construction adhesive can also work to temporarily attach tarp edges in a pinch, though it tends to be less reliable in wet weather conditions than mechanical fasteners.
When to Call a Professional Instead
Some situations call for a professional rather than a DIY tarp job, particularly when the damage is extensive, the roof pitch is steep, or the structure feels unstable underfoot. Structural damage like warped decking is also a clear signal to seek professional help rather than attempting a tarp on your own, since the underlying frame may not be able to safely support your weight. If you are ever unsure whether you can safely access your own roof, it is always better to wait for a trained crew rather than risk a fall.
Weighing the urgency of covering the damage against your own safety is not always an easy call to make in the moment. When in doubt, a tarp placed by a professional roofer is almost always the safer and more effective choice, especially when severe weather has already made the roof harder to navigate than usual.

DIY Tarping Versus Professional Tarping
Deciding whether to tarp a roof yourself or call in a professional often comes down to the scale of the damage and your own comfort with roof work. Comparing the two approaches side by side can help you make that decision with more confidence.
| Factor | DIY Tarping | Professional Tarping |
| Speed | Immediate, if materials are on hand | May require scheduling, though often same day |
| Safety | Depends on your own experience and precautions | Trained crews with proper safety equipment |
| Damage assessment | Limited to what you can see | Full inspection of structural and hidden damage |
| Effectiveness | Can be effective if done carefully | Typically more secure and longer lasting |
For smaller, easily accessible damage, a careful DIY tarp job can be a reasonable stopgap measure. For anything involving a steep roof, extensive damage, or a structure that feels unsafe, calling a professional is almost always the better choice for both your safety and the long term protection of your home.
Get Help Securing Your Roof After Storm Damage
A tarp is only a temporary measure, and the sooner your roof receives a proper inspection and repair, the better protected your home will be. Whether you need help tarping your roof right now or are ready to schedule a permanent repair, having the right team on your side makes all the difference.
At Vanguard Roofing, we help homeowners in Downers Grove and surrounding areas respond quickly to storm damage, from emergency tarping to full roof repairs. Our team understands how stressful the hours after a storm can feel, and we aim to make the process as straightforward as possible from that first call onward. Contact us today to get a fast response and protect your home from further damage.
Recent Articles