If your shingles look tired but your roof is not yet ready for full replacement, a roof restoration may be the most cost-effective way to extend its life by 10 to 20 years and avoid a major capital investment. Homeowners in Oak Brook and surrounding areas often find that a properly executed restoration runs 30% to 50% less than a full tear-off while delivering meaningful improvements in performance, appearance, and energy efficiency. This guide walks through the 8 steps that take a worn roof from showing its age to performing like new.
Here is what you will learn in this guide:
- What roof restoration actually involves: A clear definition of restoration versus repair versus replacement, and when each makes sense.
- The 8-step restoration process: A practical breakdown of every stage from initial inspection through long-term maintenance.
- How to know if your roof qualifies: The conditions that make a roof a strong candidate for restoration versus one that needs full replacement.
What Is Roof Restoration and How Does It Compare to Replacement?

Roof restoration is a comprehensive process that cleans, repairs, and rejuvenates an existing roof to extend its service life without a full tear-off. Understanding the difference between restoration and replacement helps homeowners make informed financial decisions when their roof starts showing signs of age.
How Does Restoration Differ From Repair and Replacement?
These three terms are often used interchangeably, but each describes a fundamentally different scope of work. Roof repair fixes specific damage in isolated areas, restoration addresses the entire roof system to add years of service life, and replacement involves a complete tear-off and rebuild. The right choice depends on the roof’s age, the extent of damage, and your budget.
- Roof repair: Targeted fixes for specific issues like a leak, missing shingles, or damaged flashing in a localized area of the roof.
- Roof restoration: A whole-roof process that includes cleaning, repairs, resealing, and protective treatments to extend service life by 10 to 20 years.
- Roof replacement: Complete removal of the existing roof down to the deck, followed by installation of a new roofing system.
- Cost comparison: Restoration typically costs 30% to 50% less than replacement while delivering meaningful performance improvements.
When Does a Roof Qualify for Restoration?
Not every aging roof is a candidate for restoration, and recommending the wrong approach can waste thousands of dollars. A qualified contractor will evaluate several specific conditions before recommending restoration over replacement. As a general rule, roofs that are 50% to 75% through their expected lifespan with sound underlying structure are the strongest candidates.
- Structural integrity: The roof deck must be sound, with no rot, sagging, or widespread water damage to the decking or framing.
- Lifespan position: Roofs that are 10 to 20 years into a 25 to 30-year expected lifespan are typically the best restoration candidates.
- Underlayment condition: The waterproof underlayment beneath the shingles must still be functional across the majority of the roof.
- No widespread leaks: Isolated leaks can be addressed during restoration, but a roof with active leaks across multiple areas usually needs replacement.
- Limited shingle damage: Less than 25% of the surface area should be showing severe deterioration for restoration to make sense financially.
8 Steps to Revive Your Roof Through Restoration
A professional roof restoration follows a specific sequence that addresses every component of the system in the right order. Skipping any step or performing them out of sequence can compromise the long-term effectiveness of the restoration and leave Oak Brook and surrounding areas homeowners with a roof that does not deliver the promised lifespan extension.
These steps assume the roof has been deemed a viable restoration candidate during the initial assessment phase, and that a licensed contractor will perform the work.
1. Schedule a Comprehensive Roof Inspection
The restoration process starts with a thorough professional inspection that documents every aspect of the roof’s current condition. This step is not optional or something to rush through, because the findings determine whether restoration is even appropriate and shape every decision that follows. A complete inspection includes a roof walk, attic check, and detailed photographic documentation.
- Surface evaluation: The contractor walks the roof to assess shingle condition, granule loss, curling, cracking, and any visible damage points.
- Attic inspection: Internal evaluation reveals water staining, mold, daylight visibility through the deck, and ventilation issues.
- Photographic documentation: Date-stamped photos of every component create a baseline record for warranty, insurance, and quality assurance purposes.
- Written report: A formal report should detail findings, recommendations, and a written cost estimate before any restoration work begins.
2. Clean the Roof Surface Thoroughly
A thorough cleaning prepares the roof surface for repair and treatment work, and it is impossible to assess the true condition of shingles buried under years of debris and biological growth. Professional roof cleaning uses soft-wash techniques that remove contaminants without damaging the shingle granules or seals. High-pressure washing should be avoided because it can strip granules and shorten shingle life.
- Soft-wash method: Low-pressure cleaning with appropriate cleaning solutions removes organic growth, dirt, and contamination without damaging shingles.
- Granule preservation: Proper cleaning techniques avoid the granule loss that high-pressure washing causes, which would otherwise shorten roof lifespan.
- Gutter cleaning: Gutters and downspouts are cleared as part of the process to ensure proper drainage once the restoration is complete.
- Debris removal: Branches, leaves, and accumulated debris are bagged and removed from the site rather than swept onto the lawn.
3. Remove Moss, Algae, and Lichen Growth

Biological growth on a roof is more than a cosmetic issue. Moss and lichen actively damage shingles by trapping moisture against the surface and lifting shingle edges, while algae streaks signal an environment that supports more aggressive growth over time. Removing these organisms is a critical step before any sealing or coating work can be done.
- Targeted treatments: Specific biocides are selected based on the type of growth present, with different formulations for moss, algae, and lichen.
- Long-term prevention: Copper or zinc strips can be installed along ridges to release ions that inhibit future biological growth.
- Manual removal: Heavy moss buildup may require gentle manual removal before chemical treatment, never aggressive scraping that damages shingles.
- Plant protection: Quality contractors protect surrounding landscaping with tarps and rinse-down protocols to prevent damage from runoff.
4. Repair Damaged or Missing Shingles
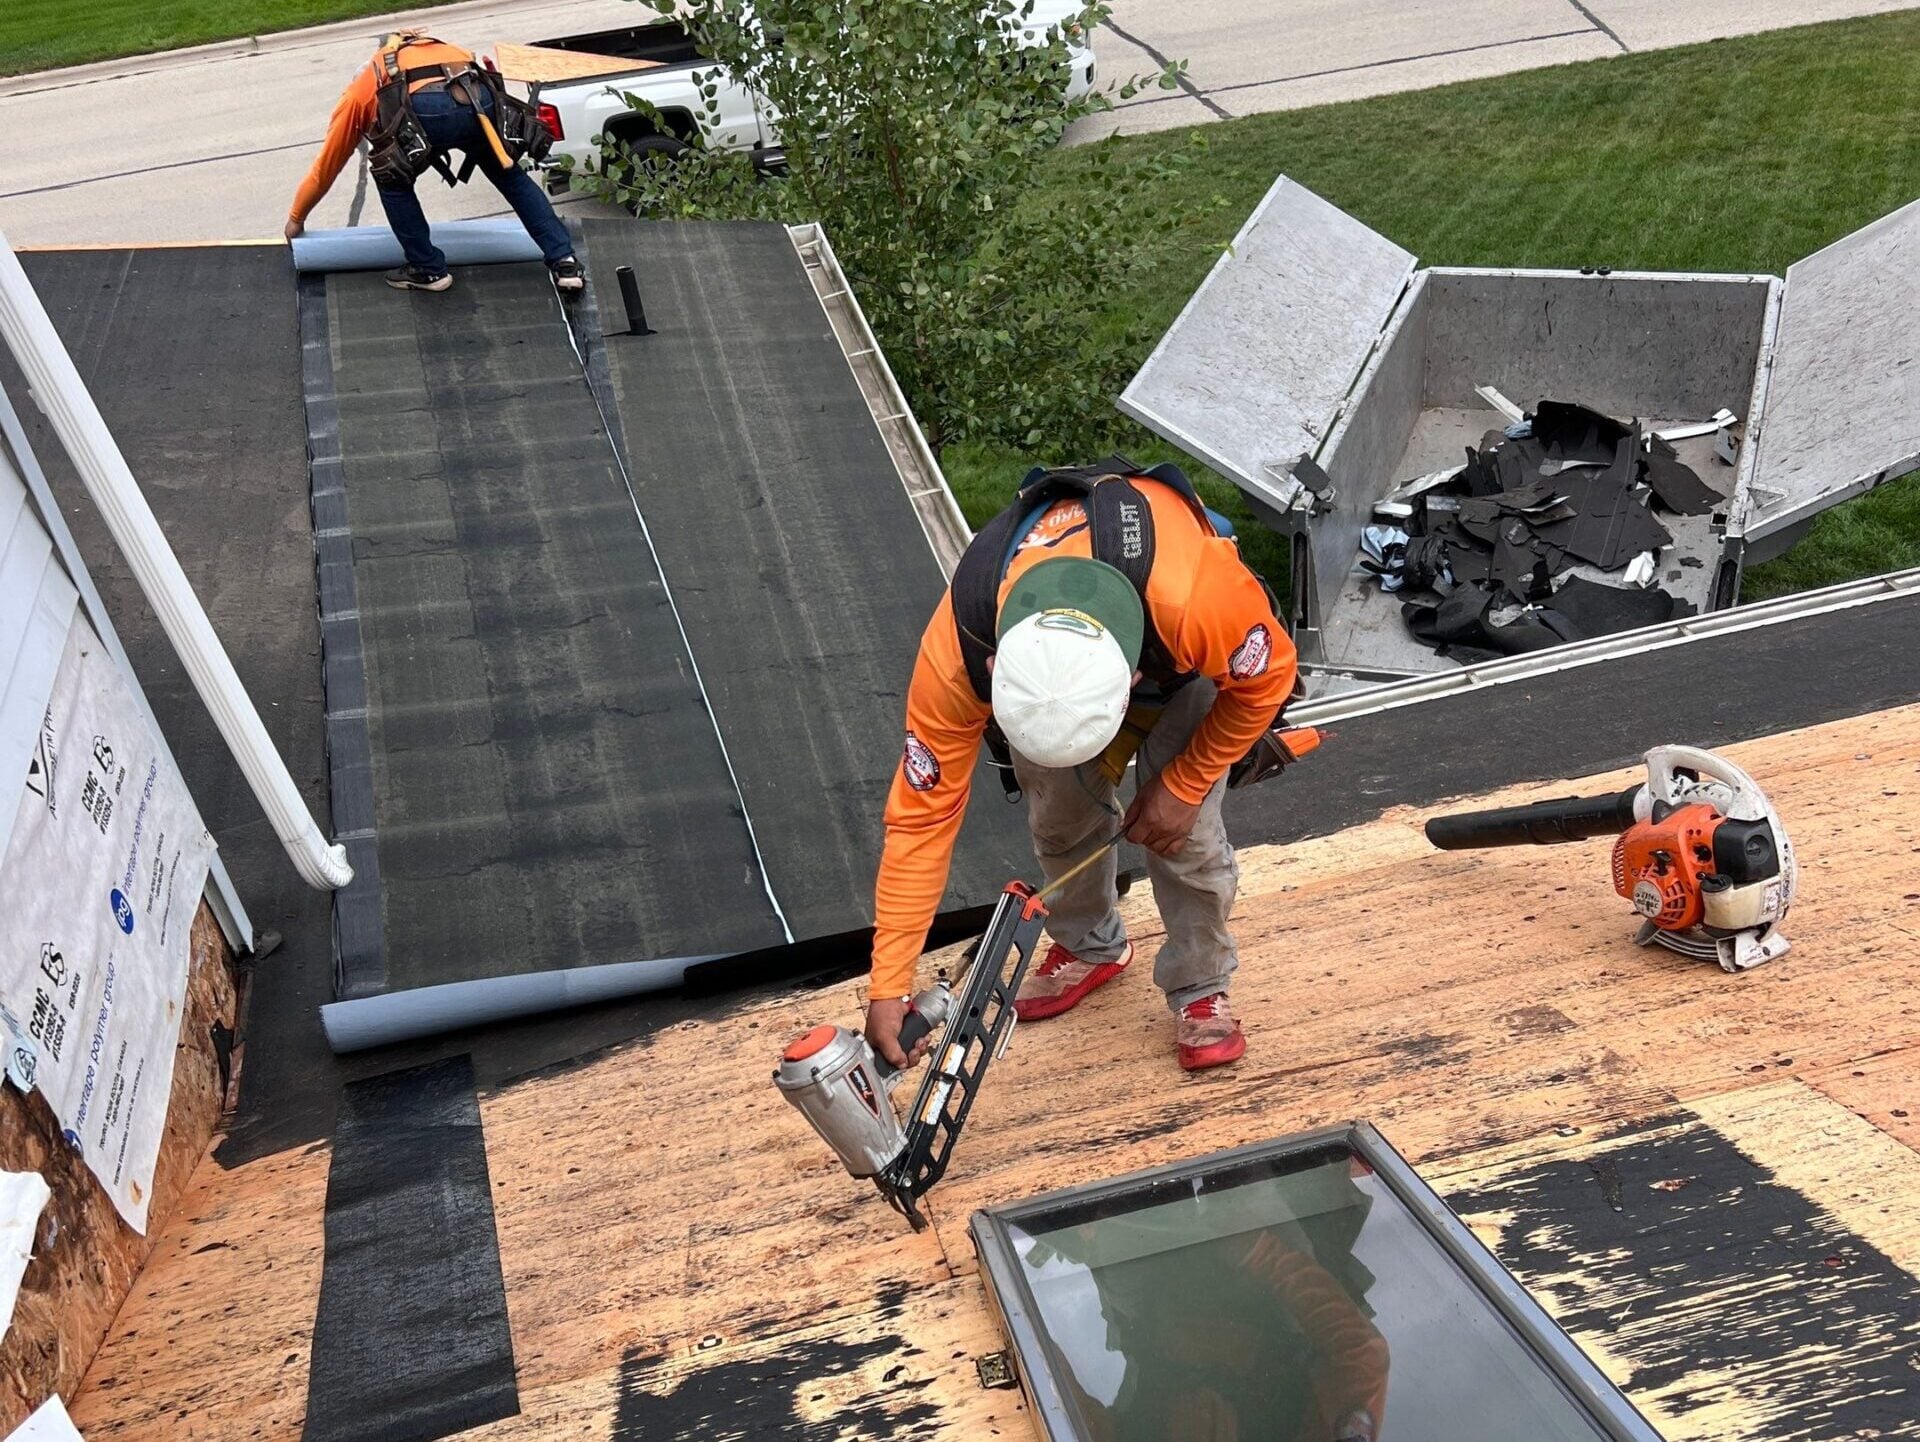
Once the roof is clean, individual shingle replacement and targeted repairs address the damage that the inspection identified. This is where the contractor replaces missing shingles, secures lifted ones, and addresses any cracked or curled shingles that are still structurally sound enough to remain in service. The goal is to restore a continuous, watertight shingle surface.
- Color matching: Replacement shingles should match the existing roof as closely as possible, though some color variation is normal with aged shingles.
- Nail pattern compliance: Replacement shingles must be installed following manufacturer specifications for nail placement to maintain wind resistance ratings.
- Lift and reseal: Shingles that have lifted but remain intact can often be resealed with roofing cement rather than replaced.
- Edge work: Special attention to ridge caps, drip edges, and rake edges where shingle failure is most common and most consequential.
5. Reseal Flashing and Roof Penetrations
Flashing failures around chimneys, vents, skylights, and pipe penetrations are responsible for the vast majority of roof leaks. The restoration process includes a careful inspection of every penetration and the application of fresh sealant or full flashing replacement where needed. According to the U.S. Environmental Protection Agency, in non-air-conditioned residential buildings, cool roofs can lower maximum indoor temperatures by 2.2 to 5.9°F, which is one reason why protective coatings applied during restoration can improve comfort and reduce energy costs.
- Chimney flashing: Step flashing and counter-flashing around chimneys is inspected and replaced or resealed as needed.
- Pipe boots: Rubber pipe boots that have cracked or deteriorated are replaced with new components rather than just sealed.
- Skylight perimeters: Skylight flashing and sealants are addressed, with full replacement if the existing skylight is failing.
- Valley flashing: Open metal valleys are cleaned and inspected, with sealant work at the edges where shingles meet metal.
6. Replace Worn Underlayment Where Needed
In areas where the underlayment has failed but the surrounding roof is sound, targeted underlayment replacement can be performed during restoration. This is most often needed in valleys and along eaves where ice and water shield membrane may have degraded over time. Restoring the underlayment in critical areas dramatically improves the roof’s ability to handle severe weather.
- Ice and water shield: Self-adhering membrane is installed along eaves and in valleys to provide an extra layer of waterproofing.
- Targeted replacement: Rather than replacing all underlayment, only the most vulnerable or degraded areas are addressed.
- Compatibility check: New underlayment is selected for compatibility with the existing shingle system and manufacturer warranties.
- Code compliance: All underlayment work meets current Illinois building code requirements, even if the original roof was installed under older codes.
7. Apply Protective Coatings or Treatments
The final restoration step in many systems is the application of a protective coating that adds years of life to the roof while providing UV protection and improved energy efficiency. Elastomeric and silicone coatings are common choices for asphalt shingle roofs, with cool roof coatings offering additional benefits in terms of summertime heat reflection.
- Elastomeric coatings: Flexible coatings that bond to the shingle surface and provide additional waterproofing along with UV protection.
- Silicone coatings: Premium options that offer excellent durability and resistance to ponding water on low-slope sections.
- Cool roof coatings: Reflective coatings that meet ENERGY STAR or Cool Roof Rating Council standards, reducing cooling costs in summer months.
- Warranty considerations: Quality coating systems carry manufacturer warranties of 10 to 15 years when applied by certified contractors.
8. Establish a Maintenance Schedule
The final step in any restoration is putting a maintenance plan in place that protects the investment for years to come. A restored roof that receives regular inspection and care will deliver its full extended lifespan, while one that is neglected may fail well before its expected service life. The maintenance schedule should be documented and tied to specific calendar events.
- Biannual inspections: Schedule professional inspections in spring and fall to catch issues before they escalate.
- Storm-response checks: Schedule additional inspections after major hail, wind, or ice events to identify storm-related damage early.
- Gutter maintenance: Clean gutters at least twice per year to prevent water backup that damages the restored roof system.
- Documentation: Keep all restoration records, photos, and warranty information in a dedicated file for insurance and future reference.
Frequently Asked Questions About Roof Restoration

How Much Does Roof Restoration Cost?
Residential roof restoration typically costs $4,000 to $8,000 for a standard 2,000-square-foot home, compared to $12,000 to $25,000 for a full roof replacement. The exact cost depends on roof complexity, the extent of repair work needed, and whether protective coatings are included in the scope.
How Long Does Roof Restoration Last?
A properly executed roof restoration typically extends roof life by 10 to 20 years, depending on the products used and the underlying condition of the roof. Quality coating systems carry 10 to 15-year manufacturer warranties, and well-maintained restorations often outperform their warranty periods.
Is Roof Restoration Worth It?
Roof restoration is worth it for homeowners whose roof is structurally sound, between 50% and 75% through its expected lifespan, and showing signs of wear rather than active failure. For these homes, restoration delivers 80% of the benefit of replacement at 30% to 50% of the cost.
Can a Leaky Roof Be Restored?
Isolated leaks can be addressed during the restoration process, but a roof with widespread or recurring leaks usually points to underlying issues that require replacement. A professional inspection determines whether the leaks are localized symptoms or signs of broader system failure.
How Long Does the Restoration Process Take?
A typical residential roof restoration takes 2 to 5 days depending on the size of the home, weather conditions, and the scope of repair work needed. This is significantly faster than full replacement, which typically takes 5 to 10 days.
Does Roof Restoration Affect My Home’s Resale Value?
A well-documented roof restoration improves resale value by extending the useful life of a critical home component. Buyers and home inspectors view restoration documentation favorably, especially when paired with photographs and warranty paperwork showing the work was done by a licensed contractor.
Why Vanguard Roofing & Siding Is Your Trusted Roof Restoration Partner
When you are considering roof restoration for your Oak Brook and surrounding areas home, you need a licensed contractor who can honestly evaluate whether restoration or replacement is the right move and then deliver quality work either way. At Vanguard Roofing & Siding, our slogan says it best: “You Deserve The Best.” As a member of the NRCIA and a licensed contractor, we bring verified expertise to every restoration, with thorough inspections that identify the most cost-effective path forward for your home.
We offer free inspections so you can get a clear picture of your roof’s condition without any upfront cost, and our 20-year workmanship warranty stands behind every restoration we perform. Financing is available for qualified homeowners, so whether your roof needs targeted repair work, comprehensive restoration, or eventual replacement, we will walk you through the right approach for your budget and your long-term plans.
Ready to add years to the life of your roof without the cost of full replacement? Contact Vanguard Roofing & Siding today to schedule your free inspection and find out whether your home is the right candidate for a 2026 roof restoration that delivers lasting value.
Recent Articles